7 Steps For a Perfect And
Professional Brow & Lash Tinting!
Learn how to dye your eyebrows and eyelashes at home
In this article, we will teach you how can you dye the eyebrows of your client or your own and can get the best results.
Following are the seven simple steps to follow for the perfect brow and lash tinting.
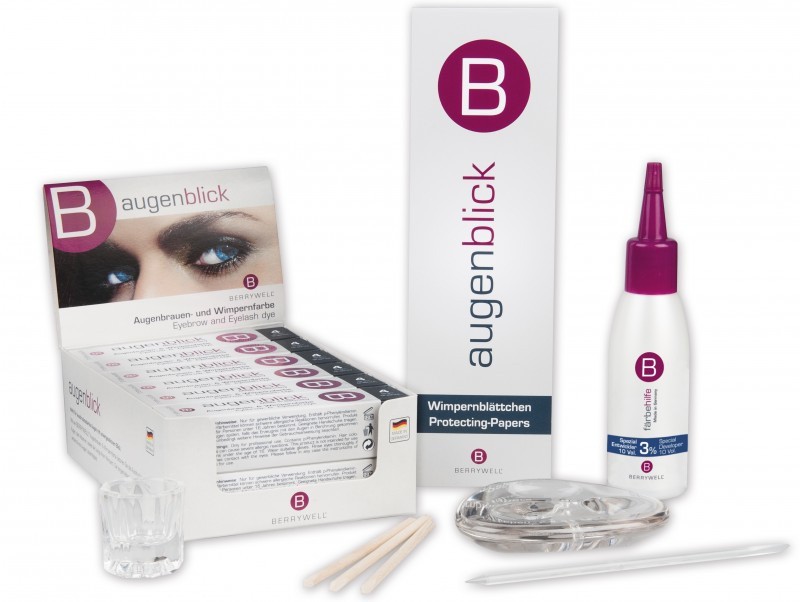
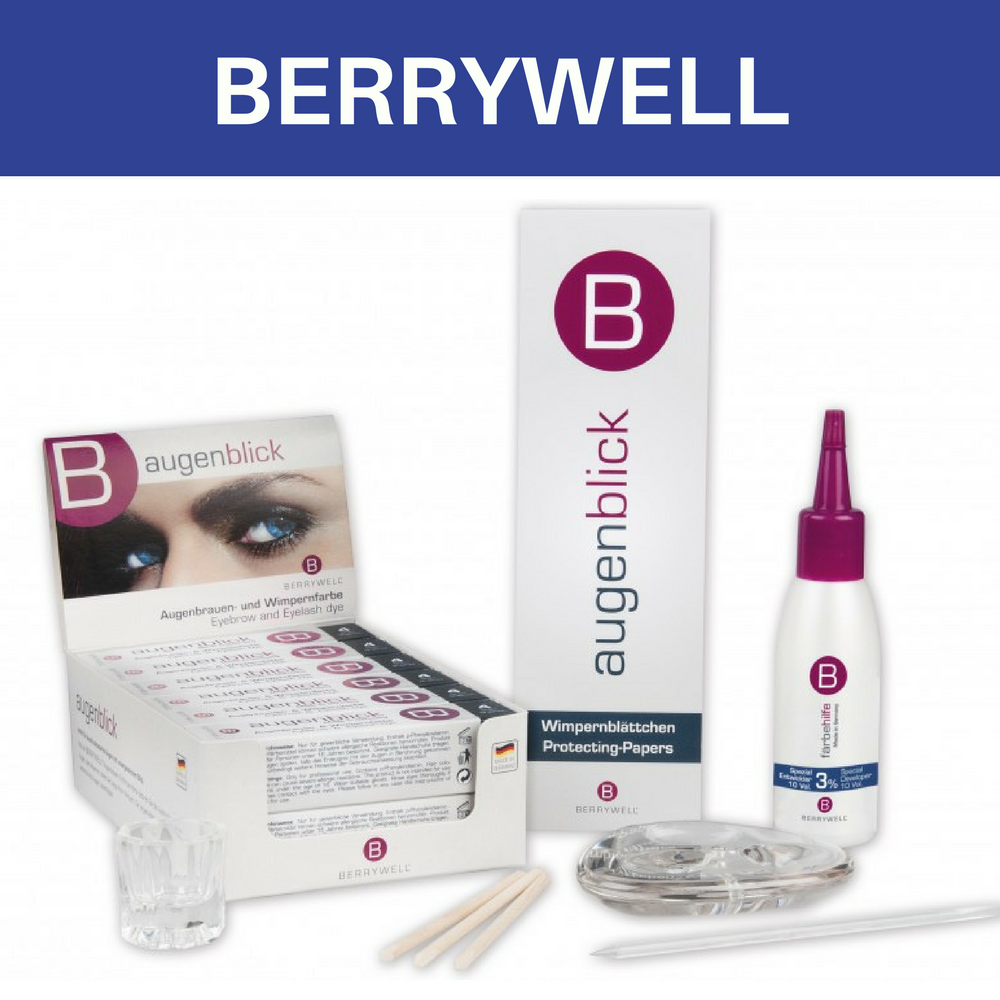
For the demonstration purpose, we will use Berrywell brand which is manufactured in Germany and the hair dye of Berrywell products lasts for up to 6 weeks giving your brows and lashes a beautiful fuller look.
Step 1: Remove your makeup
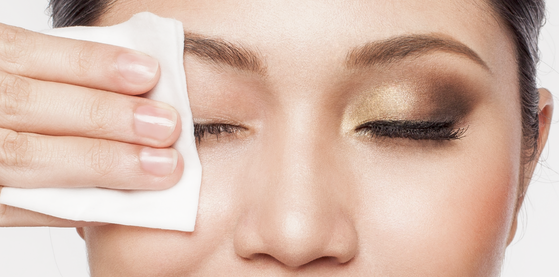
Before starting the tinting process, you should prepare yourself. What we mean by preparing yourself is to make sure that there is no makeup on the brows.
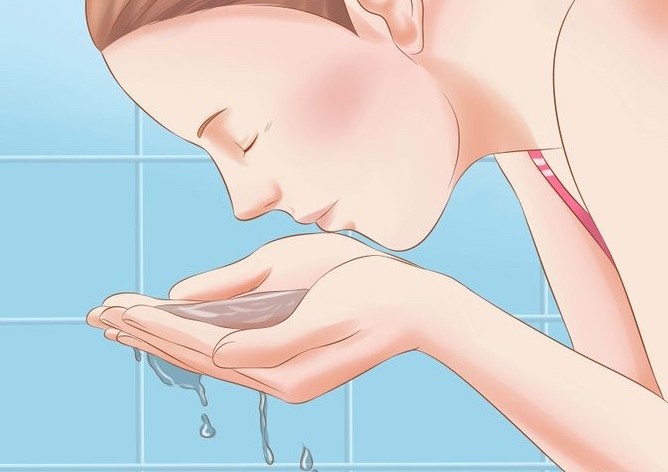
They should be clean as well to ensure that there is no dirt on the brows. Wash your face so that there is no chance of having any makeup.
***It is Recommended to shape the eyebrows before the tinting procedure.
Step 2: Choose the color
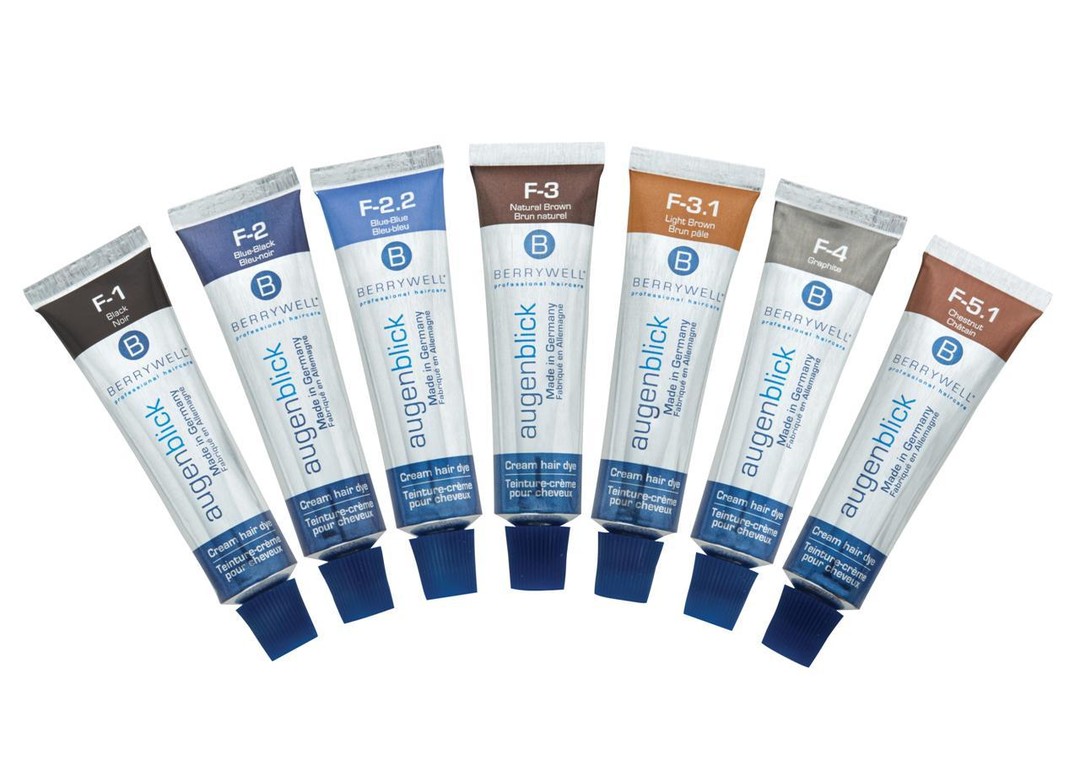
First thing you need to do as an esthetician is to match the right color for your client’s eyebrows color. Berrywell has seven different colors to choose from that includes:
Black #1 color, Blue Black #2 color ( Darkest black), Dark Brown 3.0 color (a popular one which is also called mid brown), Light brown 3.1 color (perfect for blondes), Graphite 4 color, Chestnut 5.1 color (brownish red) and Blue 2.2 color.
Choose the color that matches perfectly with the brows.
Step 3: Prepare the Mixture
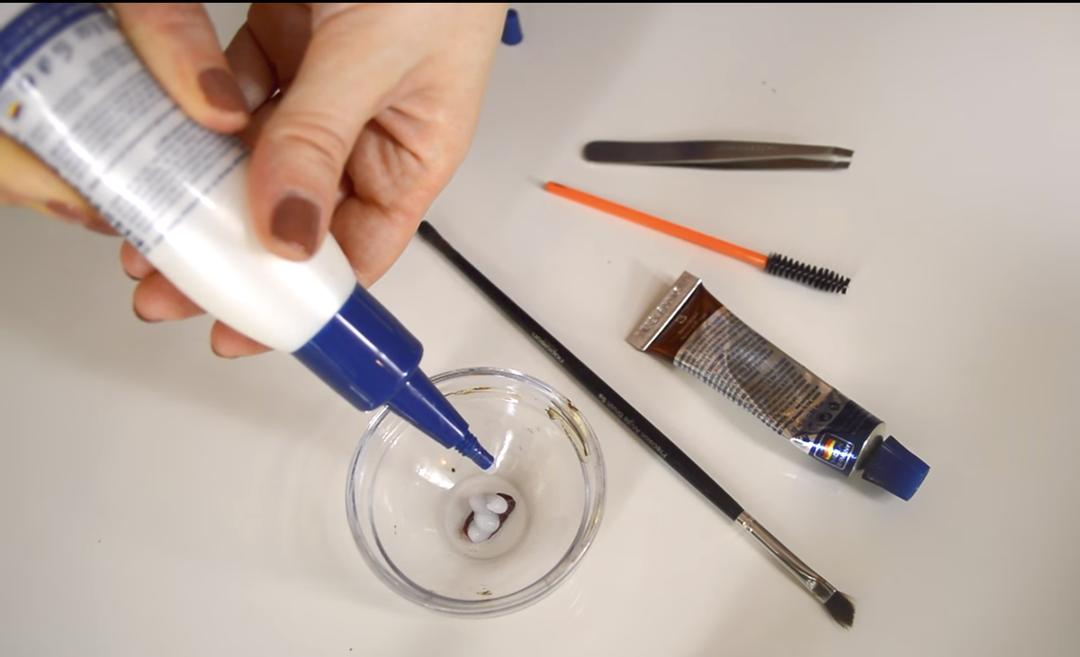
After picking the right color you have to prepare that color to be applied on the brows. Take a glass mixing dish and pour the color in the dish.
Now take the 3% creamy developer and add it in to the dish along with the hair dye color. You should take the same amount of developer and color to make the proper dye. Both color and developer should be in 50:50 ratio.
Mix them well using a Brow and Lash tinting brush and your hair dye is ready.
Step 4: Apply Vaseline around the eyebrows
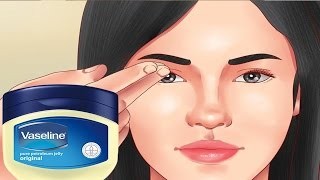
The next thing to do with your cleaned eyebrows is to apply petroleum jelly to avoid irritation. Many people don’t face any staining on the skin so you can skip this but to prevent accidental staining you can use any petroleum jelly.
Vaseline is the recommended cream that you can apply around the eye brows.
Step 5: Apply the Mixture
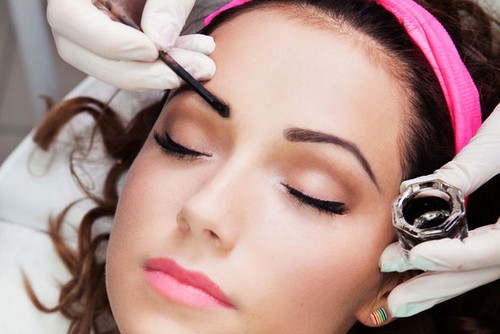
Next step is to apply the prepared mixture to your brows and lashes. Apply the mixture on the brows or lashes or both using the Brow & Lash Tinting Brush. This brush will help you to apply the mixture nicely and evenly on your eyebrows and eyelashes.
Some people prefer to apply it with a mascara brush while others prefer the tinting brush. The mascara brush can be a better option for the eyelashes as the Tinting brush can better option for eyebrows.
If you want both brushes, you can get the Dual Mascara & Tinting Brush, which is basically 2 brushes in 1 product. Highly Recommended!
When applying on the lashes, don’t forget to place the eye pads under the eyelashes. Basically there are two types of eye pads, “Sticky eye pads” and “Non-sticky eye-pads”. Sticky eye-pads come with the sticky gel and you can easily place them under the lashes. Non-sticky eye-pads are on the cheaper side and is very popular and you have to apply Vaseline to put them under the eyelashes. These Eye-pads will fully cover the under-eye skin area when applying the mixture on the eyelashes and will ensure prevention of the mixture staining your skin.
If you got some of the mixture on the skin, that’s is okay. You can always wipe it off with a wet cotton ball or better to use the Hair dye Remover Wipes. This product is only for removing color off the skin and NOT from brows or lashes. PLEASE don't use it too close to the eye area.
Step 7: Remove
After giving proper time to the color the next step is to remove the applied mixture. After 8-10 minutes, using cotton pad or ball, dip it in water and clean the brows and lashes.
You can even wash your face after removing the color, just to make sure that there is no paste present on your eyebrows.
In case they come out too light then you can repeat the procedure. Don’t worry if it gets too dark after the second attempt. The tint will last for up to six weeks but if you find it a bit faded you can refresh it even after three or four weeks.
DONE!
If you are looking to buy Eyebrow and Eyelash tinting supplies at the best prices on the market then please visit:
